Quick Start Guide
This quick start guide offers a condensed selection of the essential features of Guitar Pro 8. It walks you step-by-step through creating a project, adding tracks, entering notes, adjusting sounds, and customizing the score display.
The goal is to help you get started with the software quickly and efficiently, focusing on the basic operations you’ll use most often in your daily workflow.
Each point covered here is presented in a concise format to help you save time. You can view the screenshots and illustrations in the linked sections.
This guide does not replace the full user manual. We recommend exploring the other sections to discover all of Guitar Pro 8’s advanced features, master fine score editing, and get the most out of the software.
Covered Sections
- Install Guitar Pro
- Activate Guitar Pro
- Explore the Homepage
- Explore the Main Interface
- Create a New Score
- Set the Key Signature, Clef, and Time Signature
- Create a Track
- Display Standard, Tablature, Slash, Jianpu Notation
- Set the Tuning of a Track
- Enter Notes
- Manage Voices
- Set the Tempo and Metronome
- Adjust Playback Speed
- Add Playing Effects and Articulations
- Customize Track Sound
- Import, Export, Print
- Open a mySongBook Score
Install Guitar Pro
Download the latest version from your Guitar Pro account or by installing the trial version. Follow the installation steps for Windows or macOS. Once the software is installed, proceed to activation.
Activate Guitar Pro
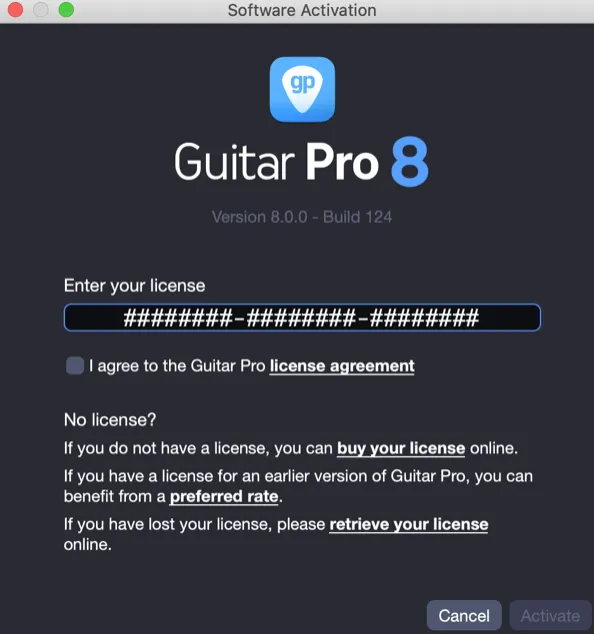
Launch Guitar Pro and enter your Guitar Pro 8 license number in the activation window.
Explore the Homepage
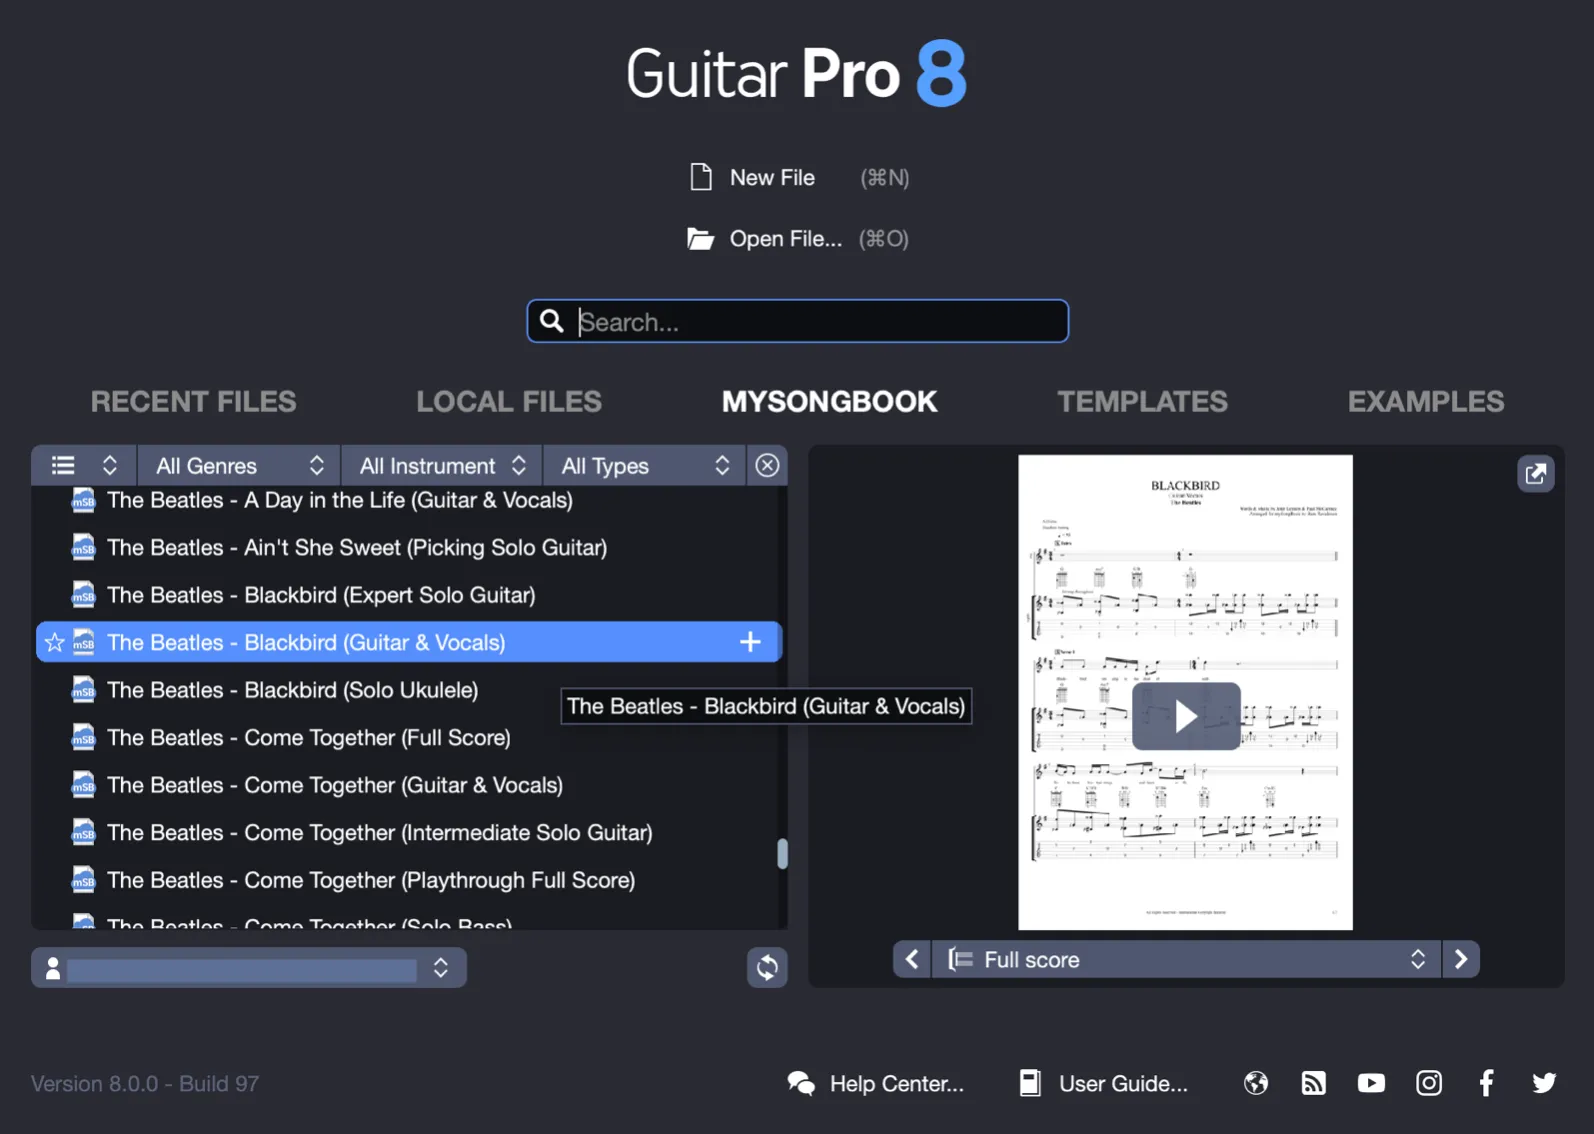
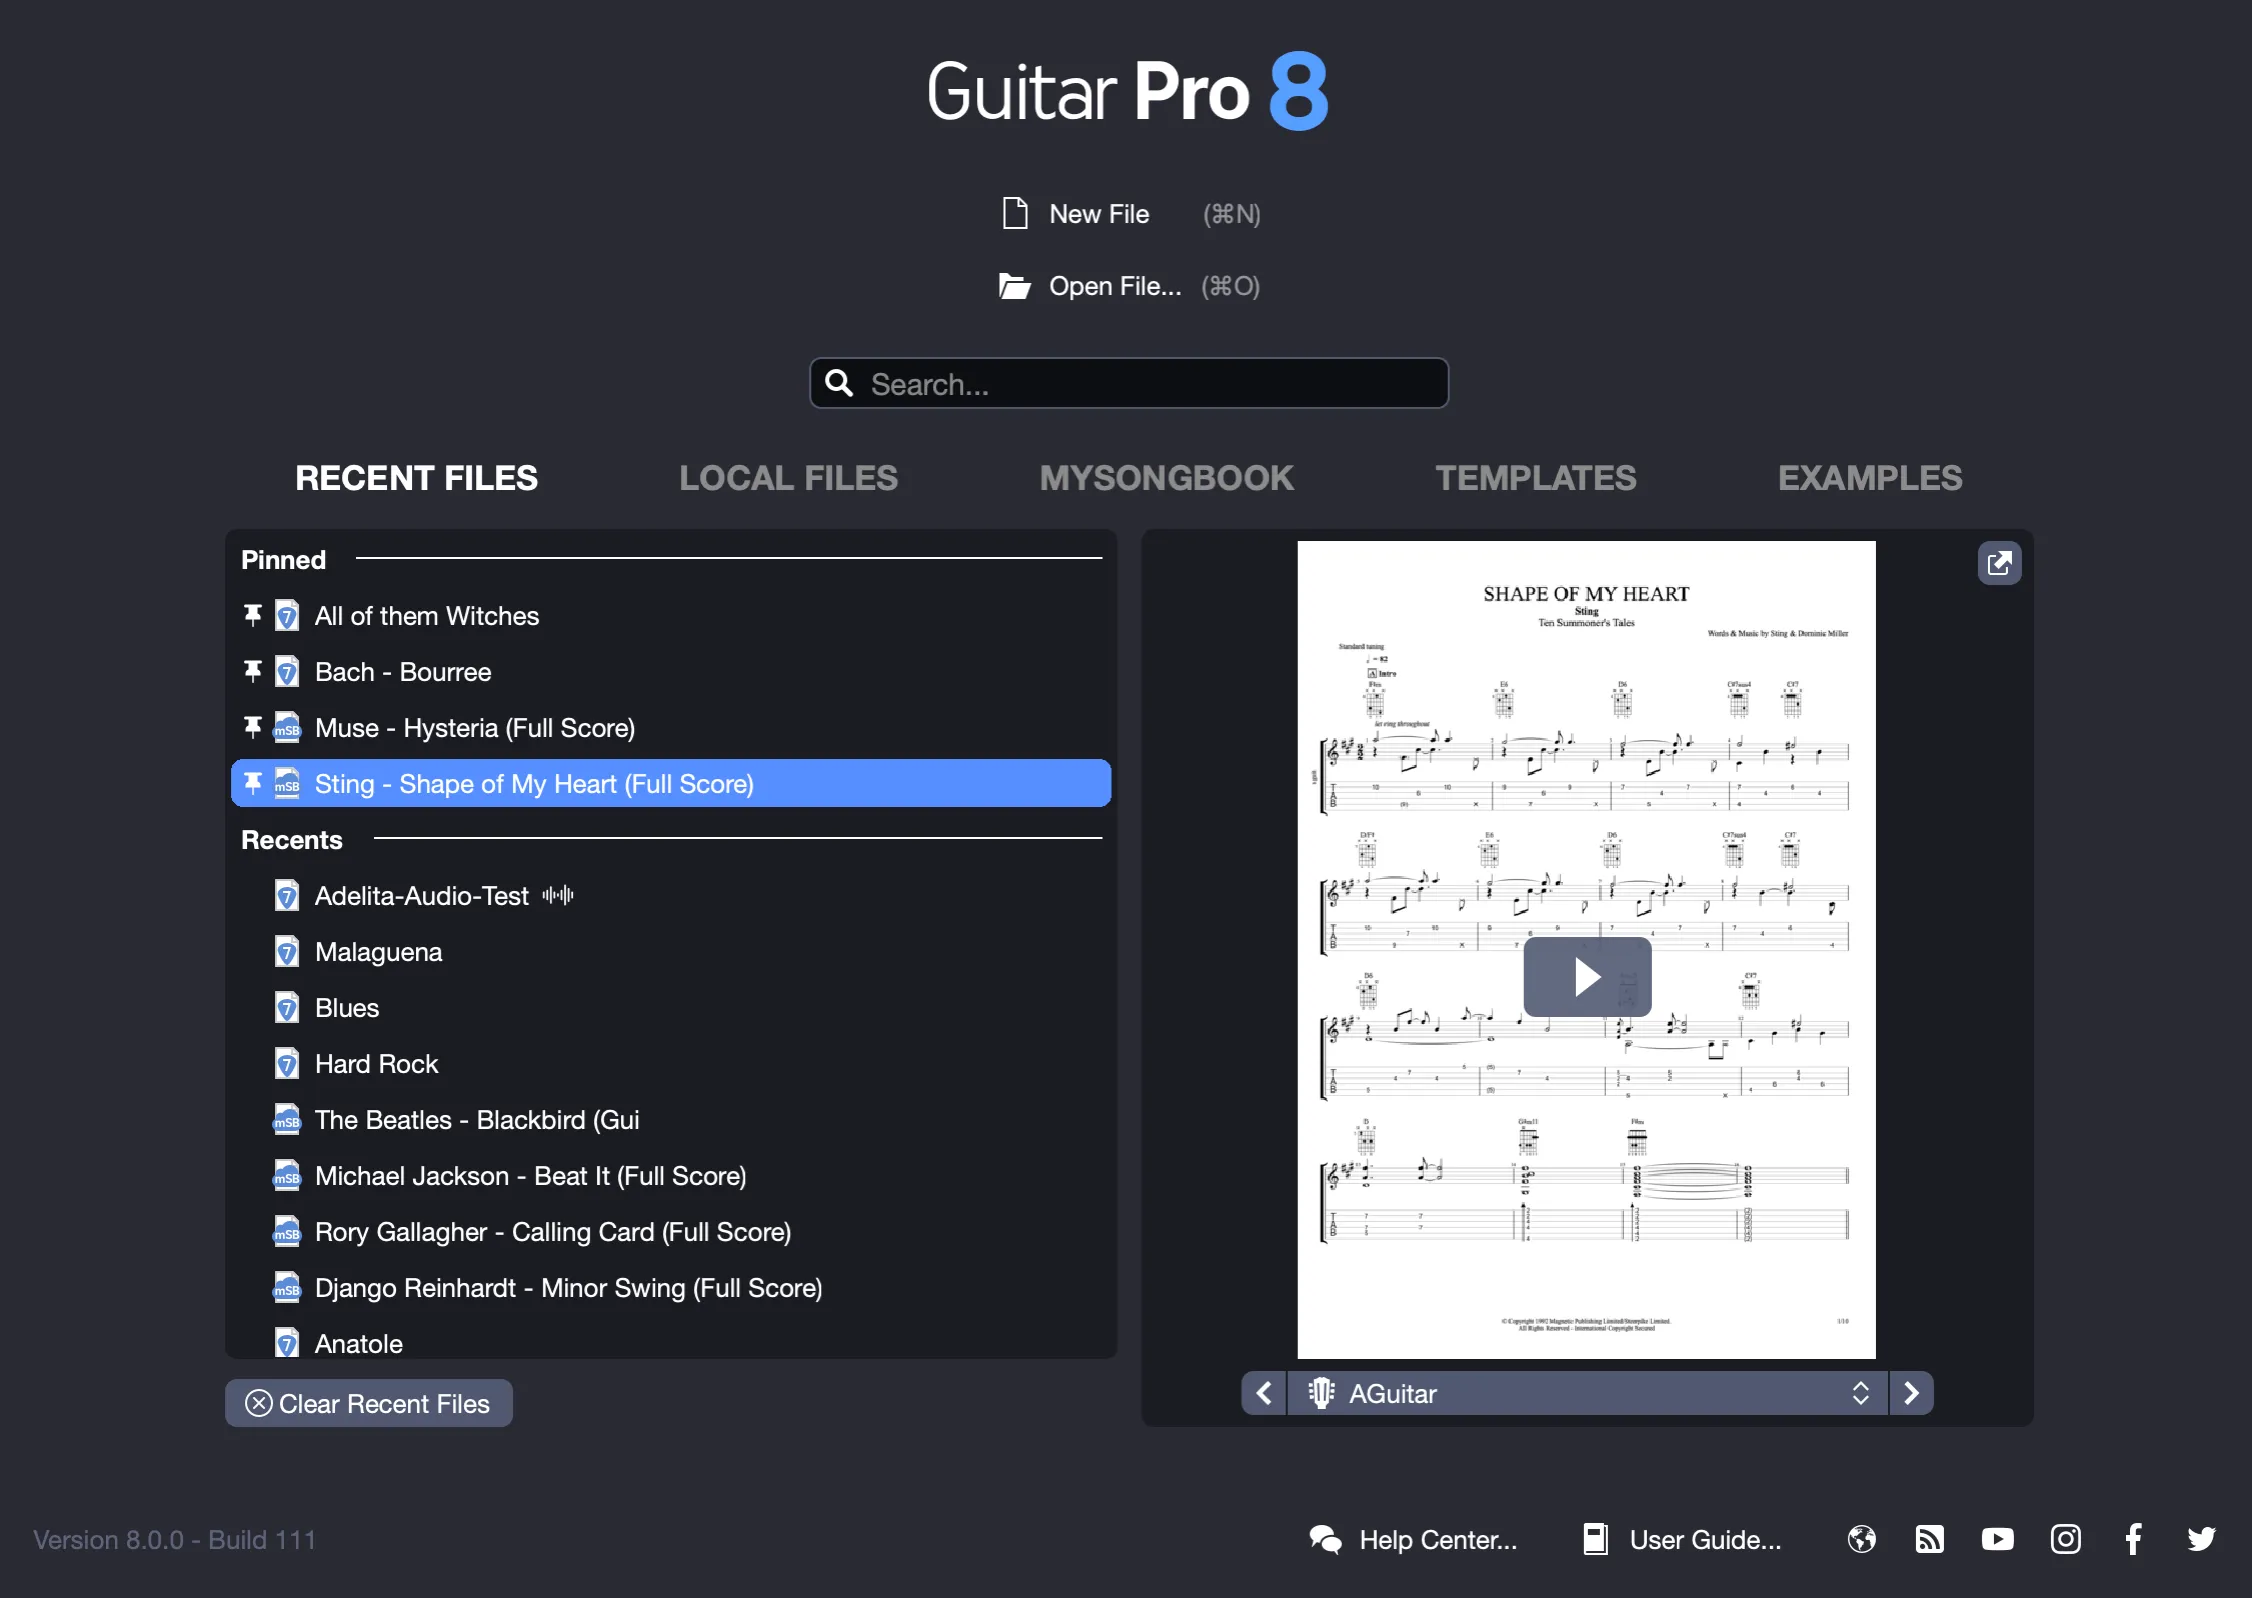
The homepage gives quick access to your recent and local files, templates, mySongBook scores, and lets you create a new project in just a few clicks.
Explore the Main Interface
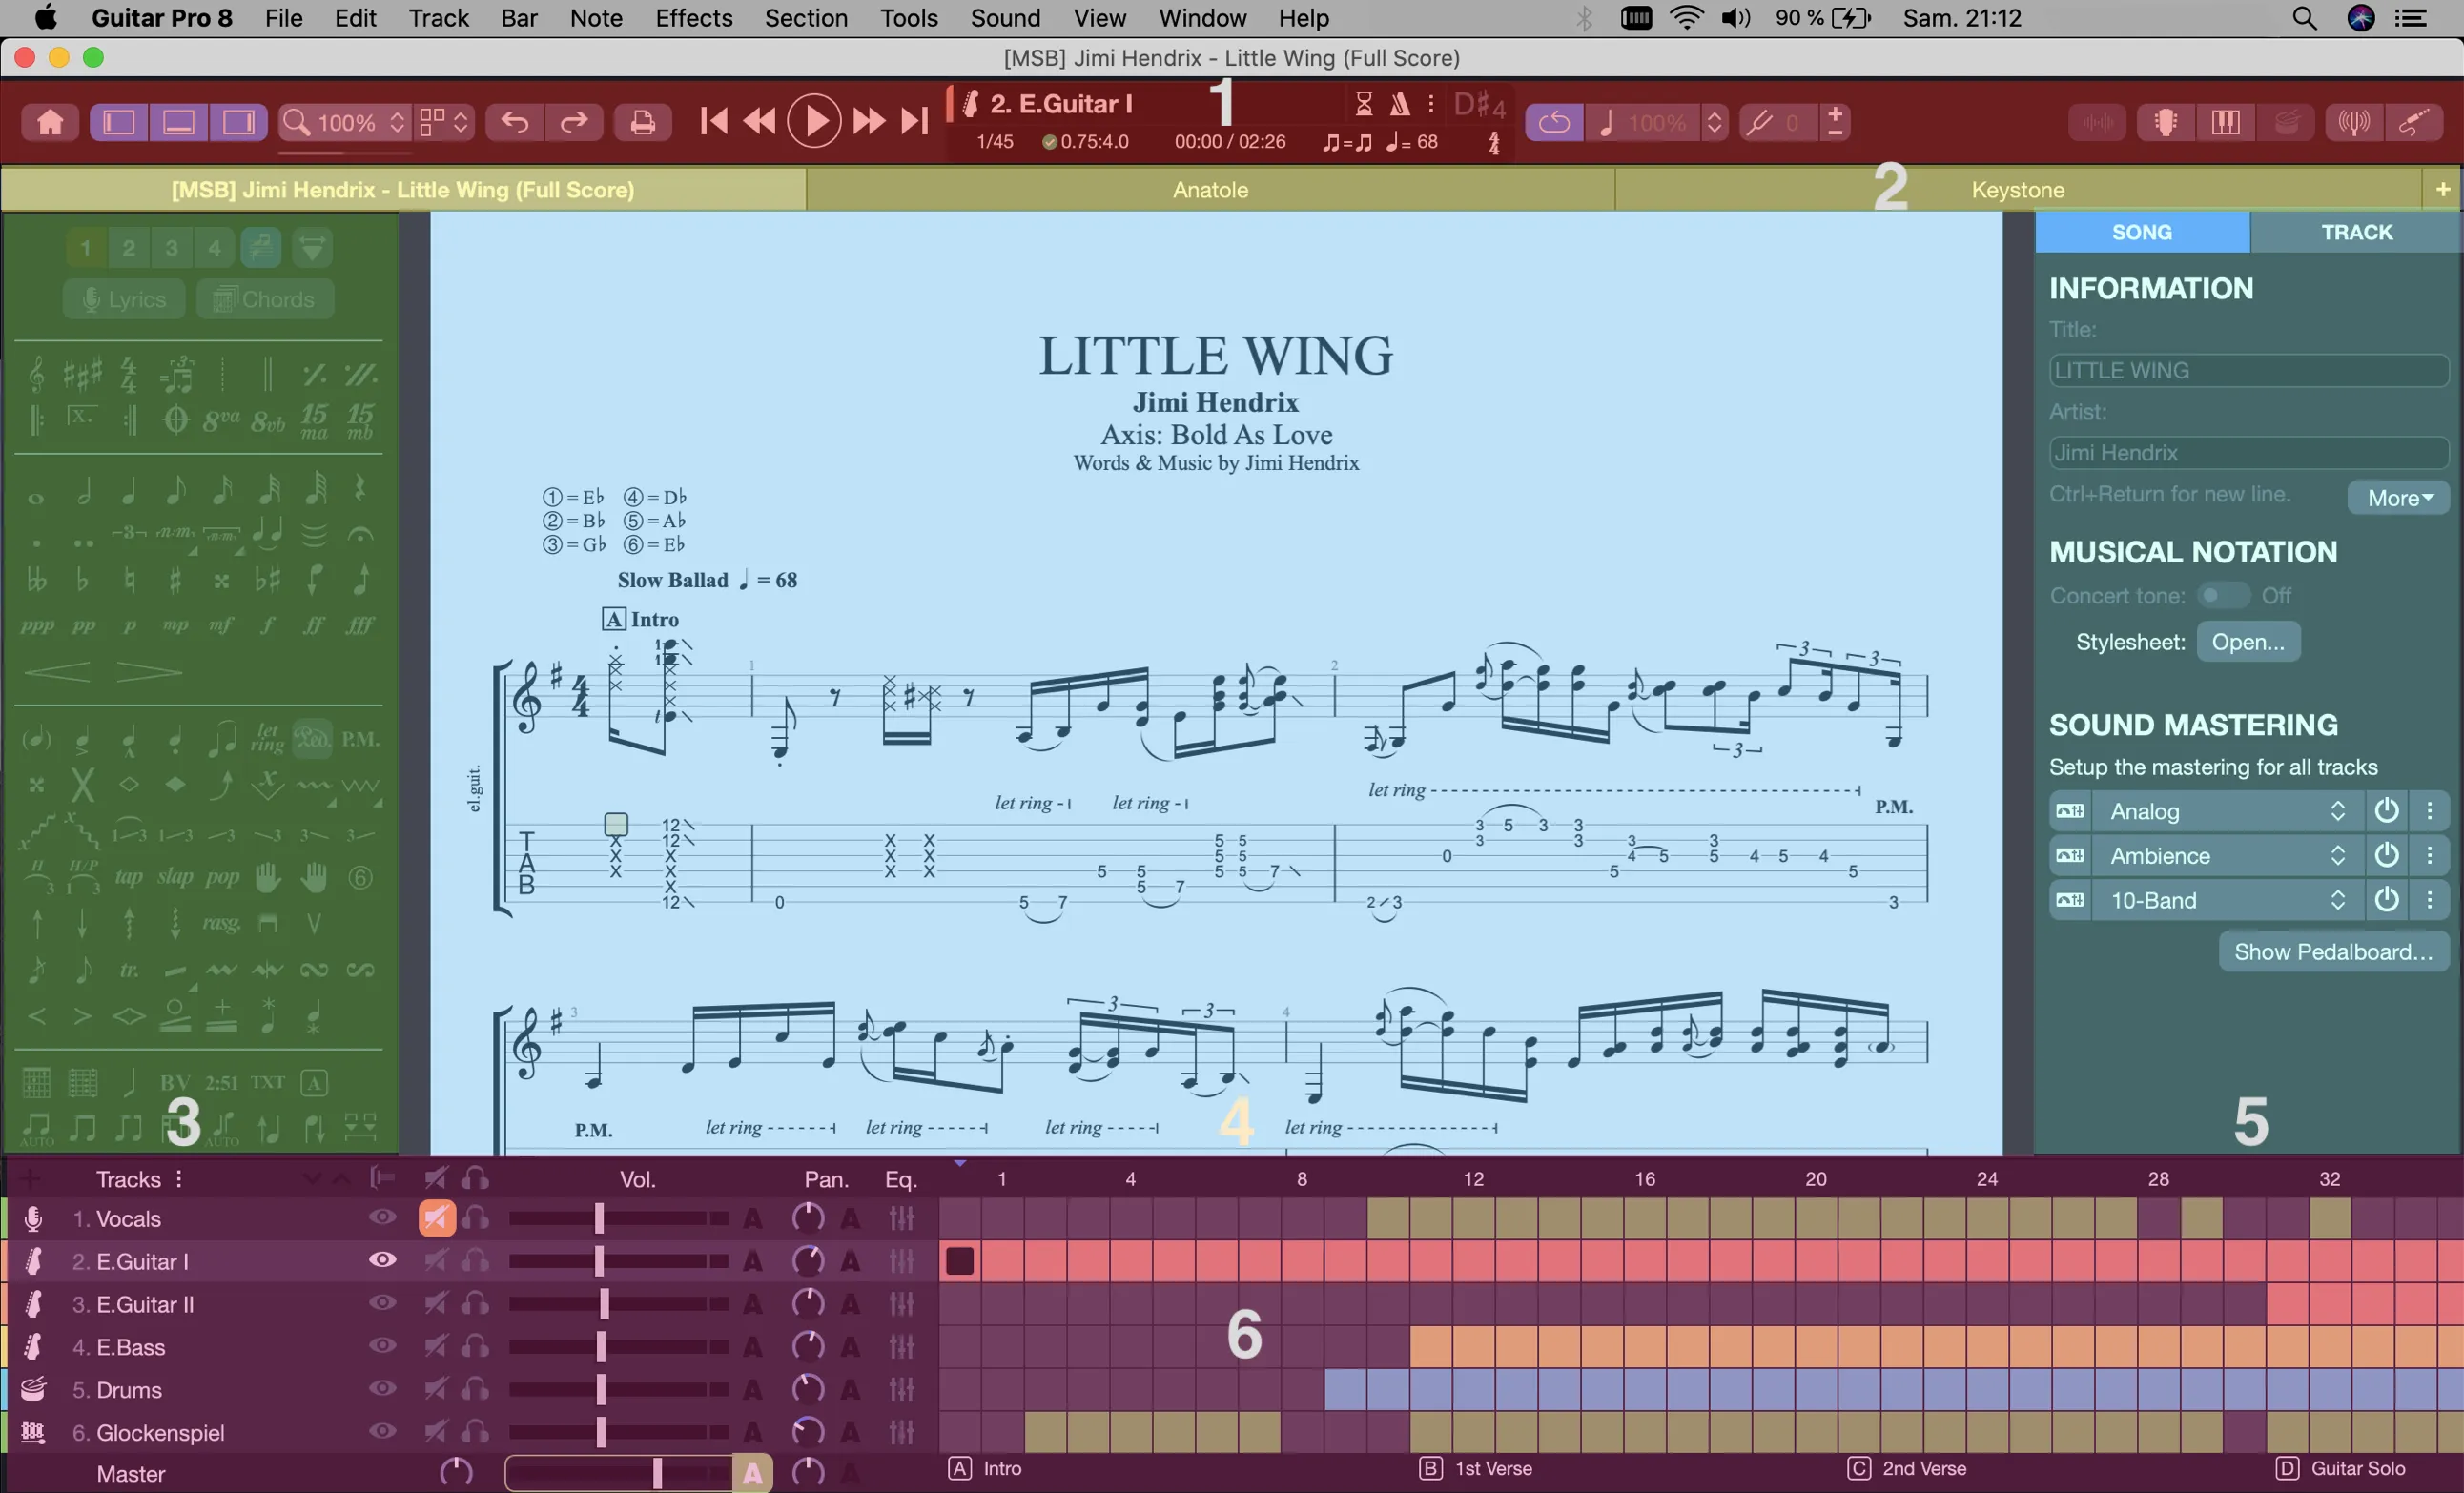
The interface consists of several areas:
- Toolbar (top)
- Tab bar (top)
- Editing palette (left)
- Workspace (center)
- Inspectors (right)
- Global view (bottom)
Take time to get familiar with each section, its function, and components before you begin editing.
Create a New Score
A score is the heart of your musical project, saved as a .gp file. It can be created in various ways:
- Via File > New or the New button on the home screen.
- From a template (rock trio, solo guitar, jazz quintet, etc.).
- By clicking the + button in the tab bar.
- Using the shortcut Ctrl+N (Windows) or ⌘N (macOS).
Once the score is open, add a track using the Track Creation Wizard. You can then edit it, configure its settings, and add more tracks.
Be sure to set the key signature, clef, and time signature at the beginning.
Set the Key Signature, Clef, and Time Signature
When creating a score, be sure to configure:
- The clef (Treble, Bass, C-clef…) via the Editing Palette or by clicking the clef
- The key signature (sharps or flats) based on the tonality — editable at any time
- The time signature (4/4, 6/8, etc.) — indicates the number of beats and the beat unit
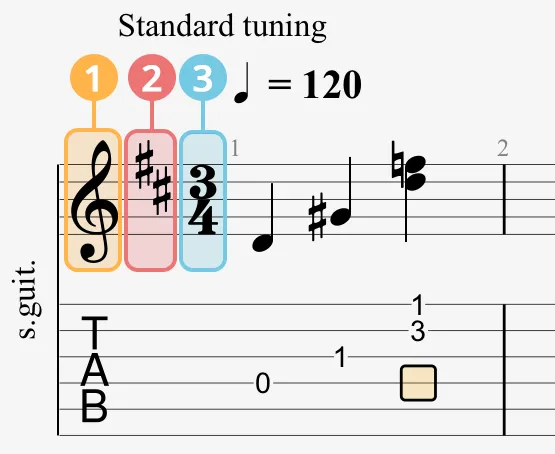
You can also edit rhythmic groupings (beaming) in the time signature dialog for better readability.
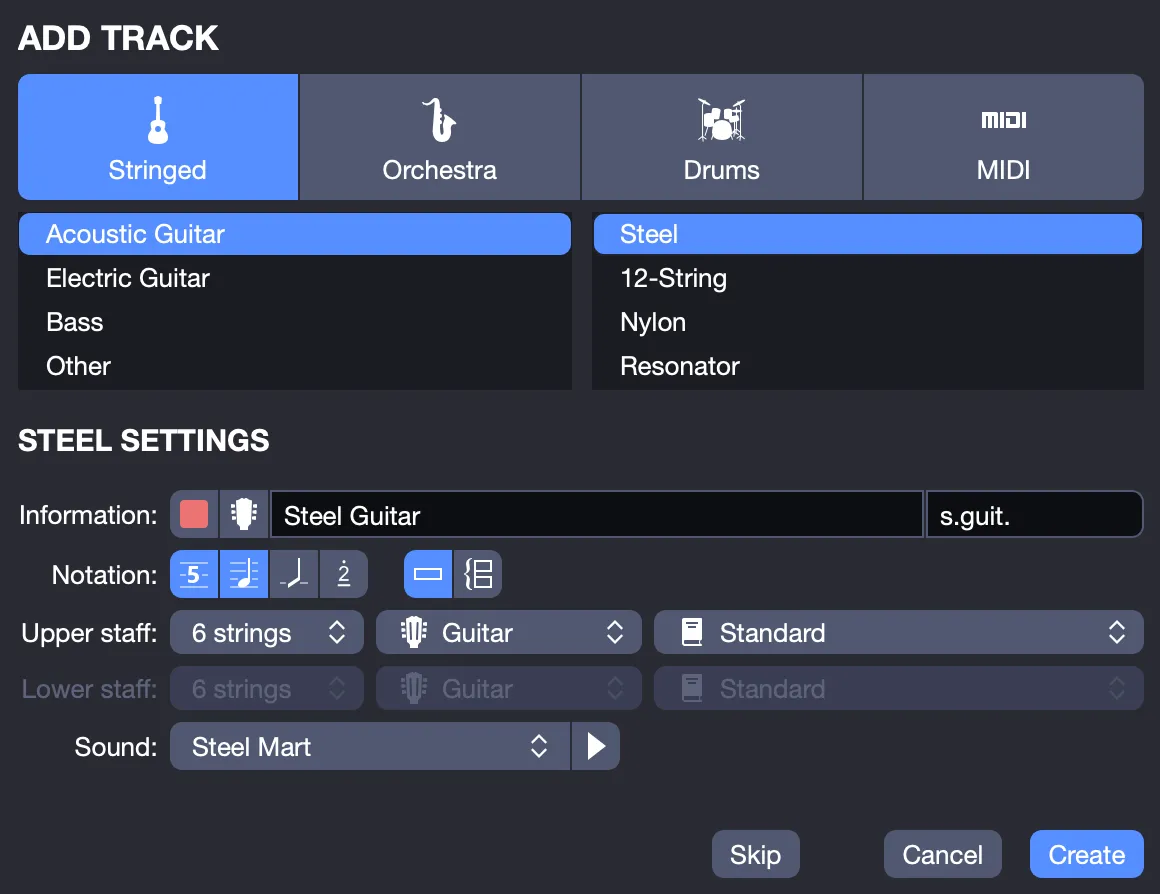
Create a Track
Each score can include one or more tracks. To add a new one:
- Use Track > Add…, or the + button in the Global View
- Choose an instrument (guitar, bass, drums…), tuning, sound, staff type, and name
- Click Create to confirm
Display Standard, Tablature, Slash, Jianpu Notation
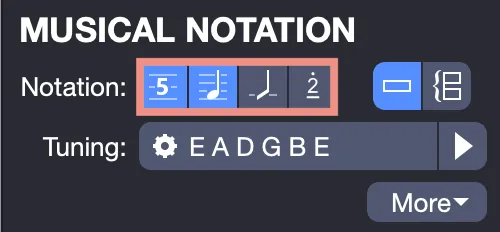
Guitar Pro lets you personalize the score display based on your instrument and reading preferences.
- Open the Track Inspector (on the right side)
- Enable or disable Standard, Tablature, Slash, or Jianpu notations
- Combine notations (e.g., tablature + standard)
- Choose a single staff or a grand staff, depending on the instrument
Set the Tuning of a Track
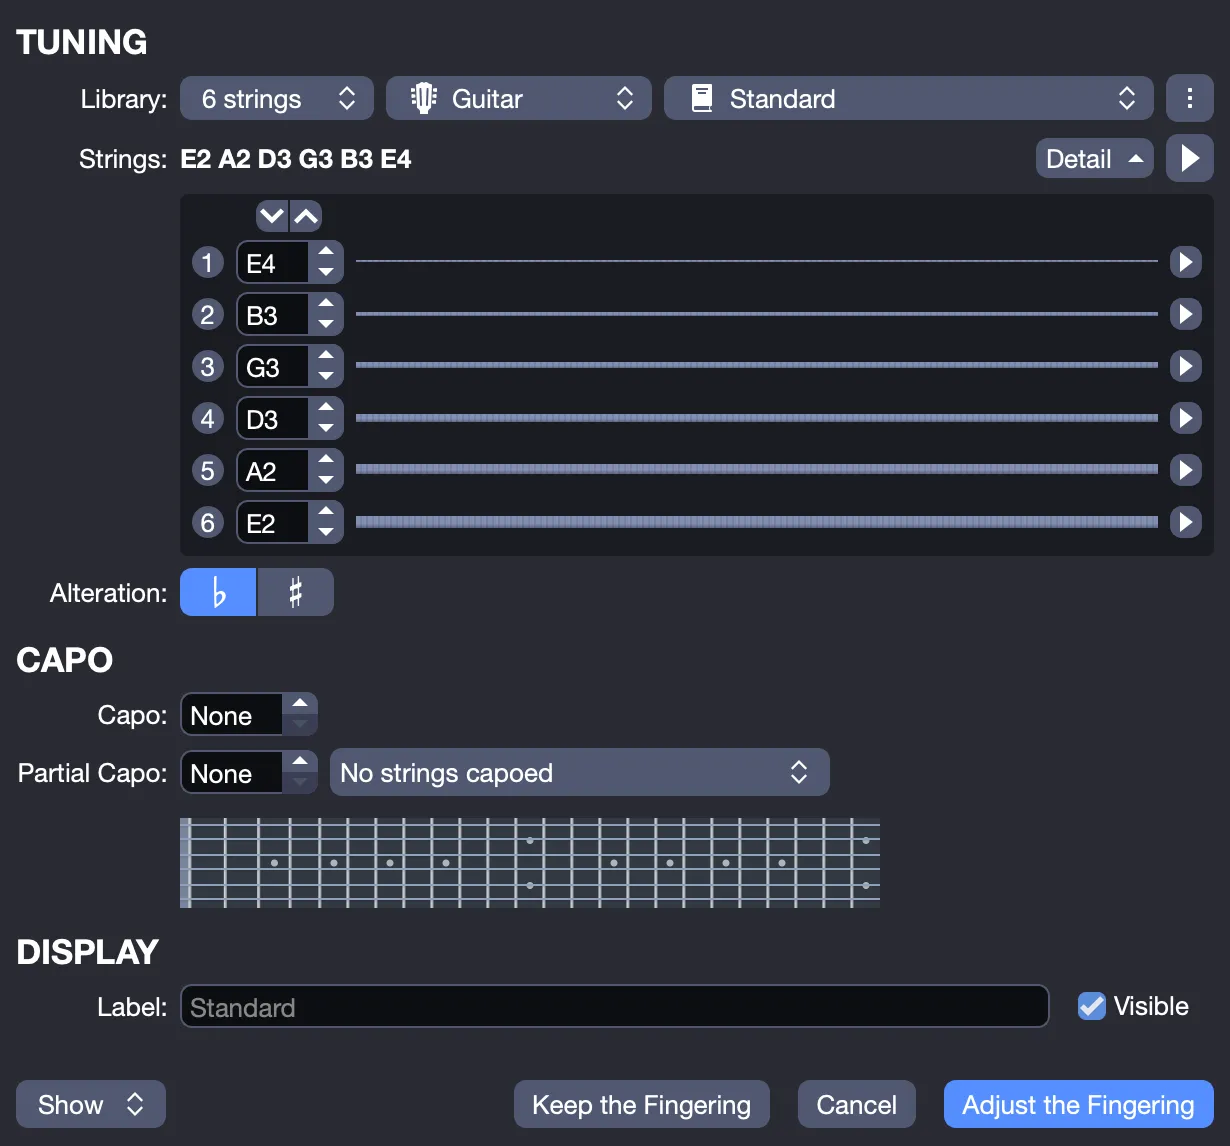
Tuning determines the pitch of each string:
- Click on the tuning in the score or open the Track Inspector
- Change the number of strings, tuning, capo, or partial capo
- Name or save your tuning for reuse
- Choose whether to keep fingering or adapt it after tuning changes
Enter Notes
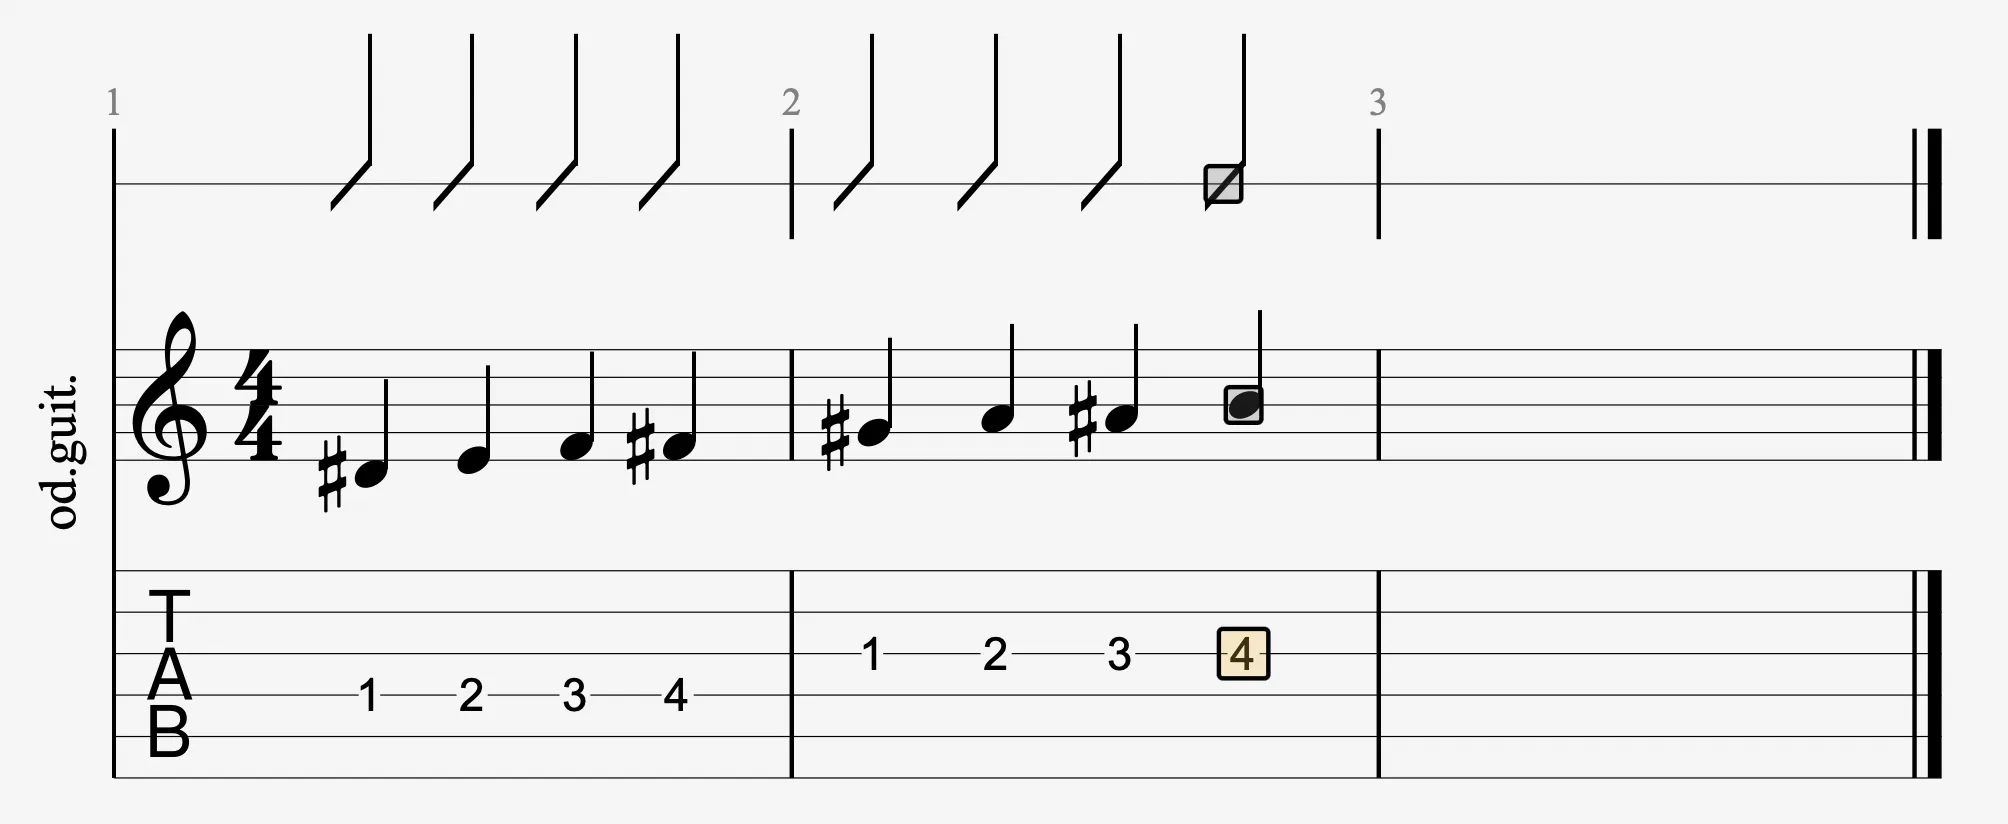
You can enter notes directly into tablature, standard notation, or jianpu. The editing cursor, colored based on the active voice, indicates where the next note will be added.
- Click on the score to place the cursor — this does not add a note yet
- Type a number on your keyboard to enter a fret (e.g., 3 = 3rd fret)
- Use the arrow keys to move across beats
- Press R to insert a rest
- Use + / - or the Editing Palette to set note duration
When entering notes in standard notation, use keys 1 to 9 to select the string.
0 automatically chooses the best-fitting string based on pitch.
Other methods
- With the mouse: use the Fretboard View or Keyboard View from the View menu
- With a MIDI instrument: enable Sound > MIDI Capture to enter notes one by one
- Press Tab to switch between notation types
Manage Voices
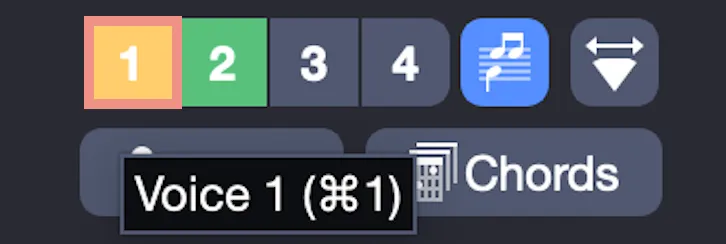
Each track supports up to 4 voices, allowing you to stack independent lines and enter notes of different rhythmic values simultaneously.
- Use the Voice buttons in the Editing Palette or go to Edit > Voices
- Switch to multi-voice mode to display all voices together
- Voices are color-coded (yellow, green, pink, purple)
- Enable Color fret numbers in Stylesheet > Notation
Set the Tempo and Metronome
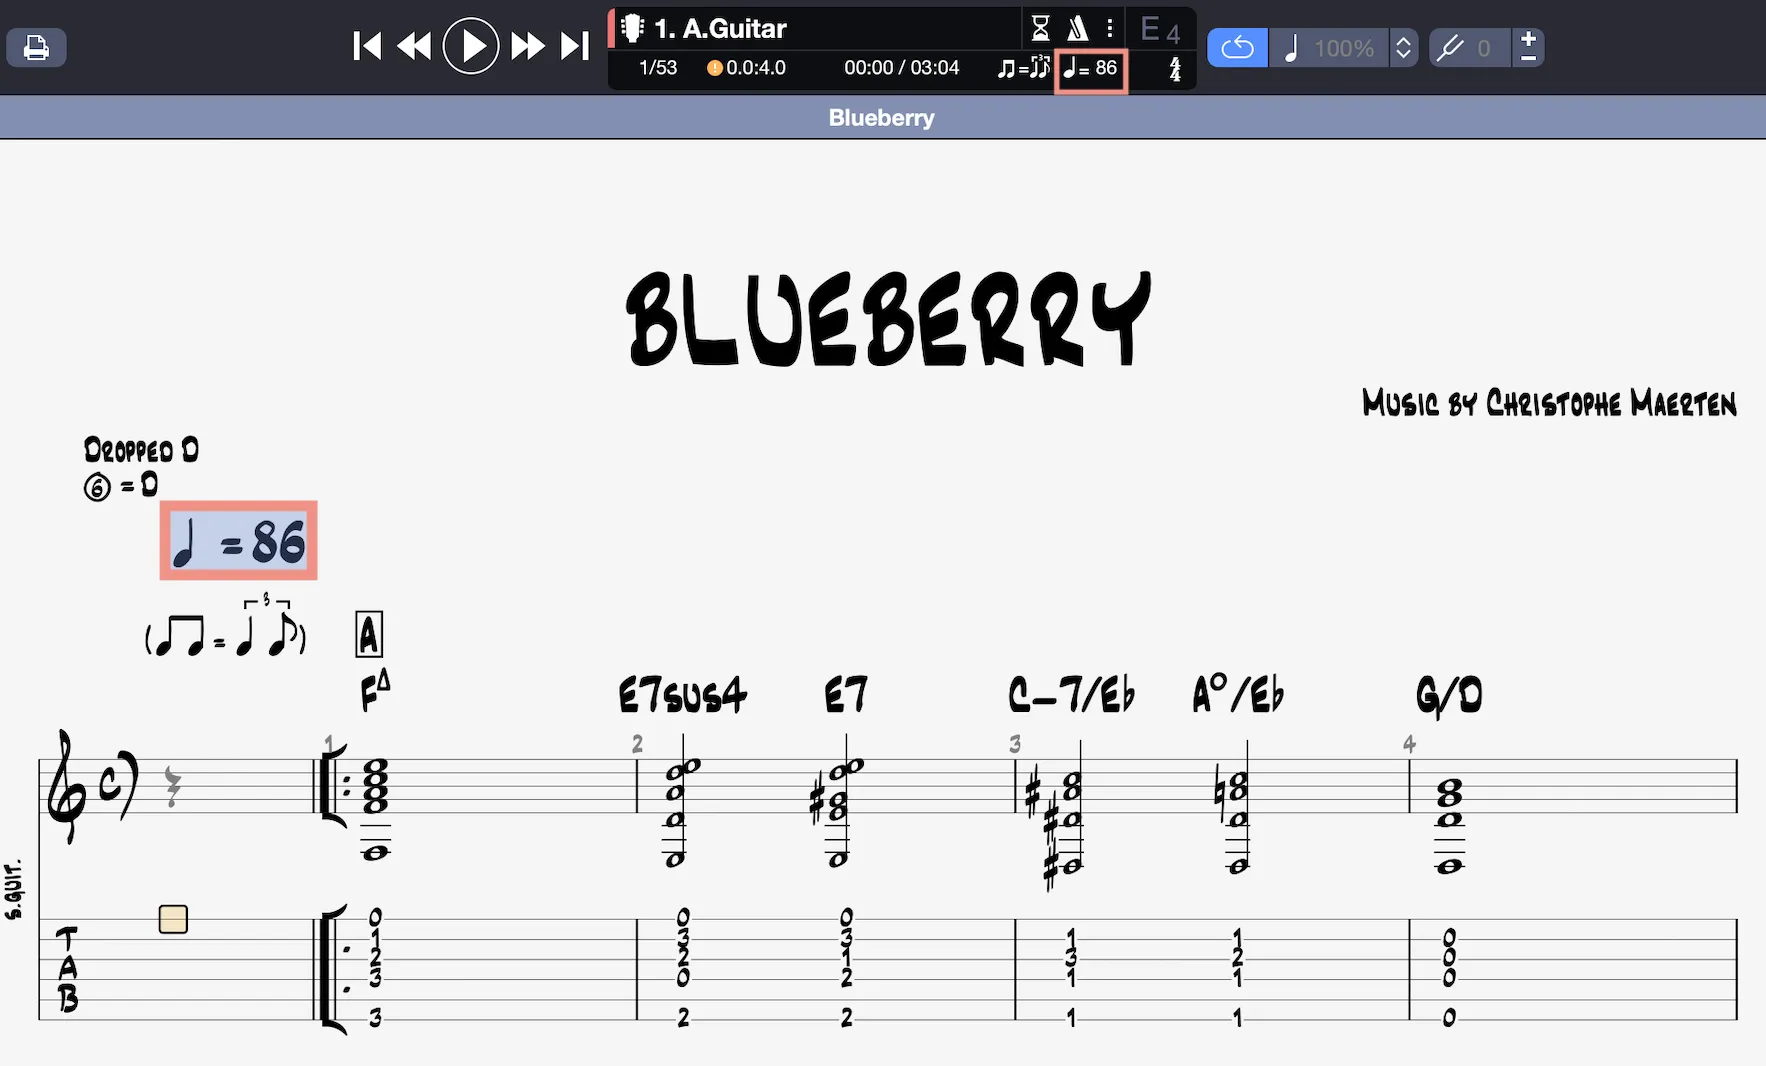
Tempo controls the playback speed in beats per minute (BPM). Adjust it by clicking the tempo indication in the score, the LCD screen, or via Edit > Automations > Edit Automations.
The metronome marks each beat during playback to help keep time. Toggle it on/off or adjust it in the LCD or via Sound > Metronome.
Adjust Playback Speed
Guitar Pro offers several speed options for practice:
- Relative speed: adjusts playback as a percentage of the original tempo (10–300%)
- Fixed tempos: sets a constant tempo, ignoring tempo changes
- Progressive speed (speed trainer): increases playback speed with each repeat
Access these options via the Relative Speed icon in the toolbar.

Add Playing Effects and Articulations
Effects add expression to your performance: hammer-ons, slides, palm mutes, bends, harmonics, vibrato, etc.
- Apply effects from the Editing Palette, Note menu, or Effects menu
- Five effect categories: touch, dynamics/tone, ornamentations, harmonics/percussions, external accessories
Customize Track Sound
Each track can use either a realistic RSE sound or a lighter MIDI sound.
- Set a sound when creating the track or change it later from the Track Inspector
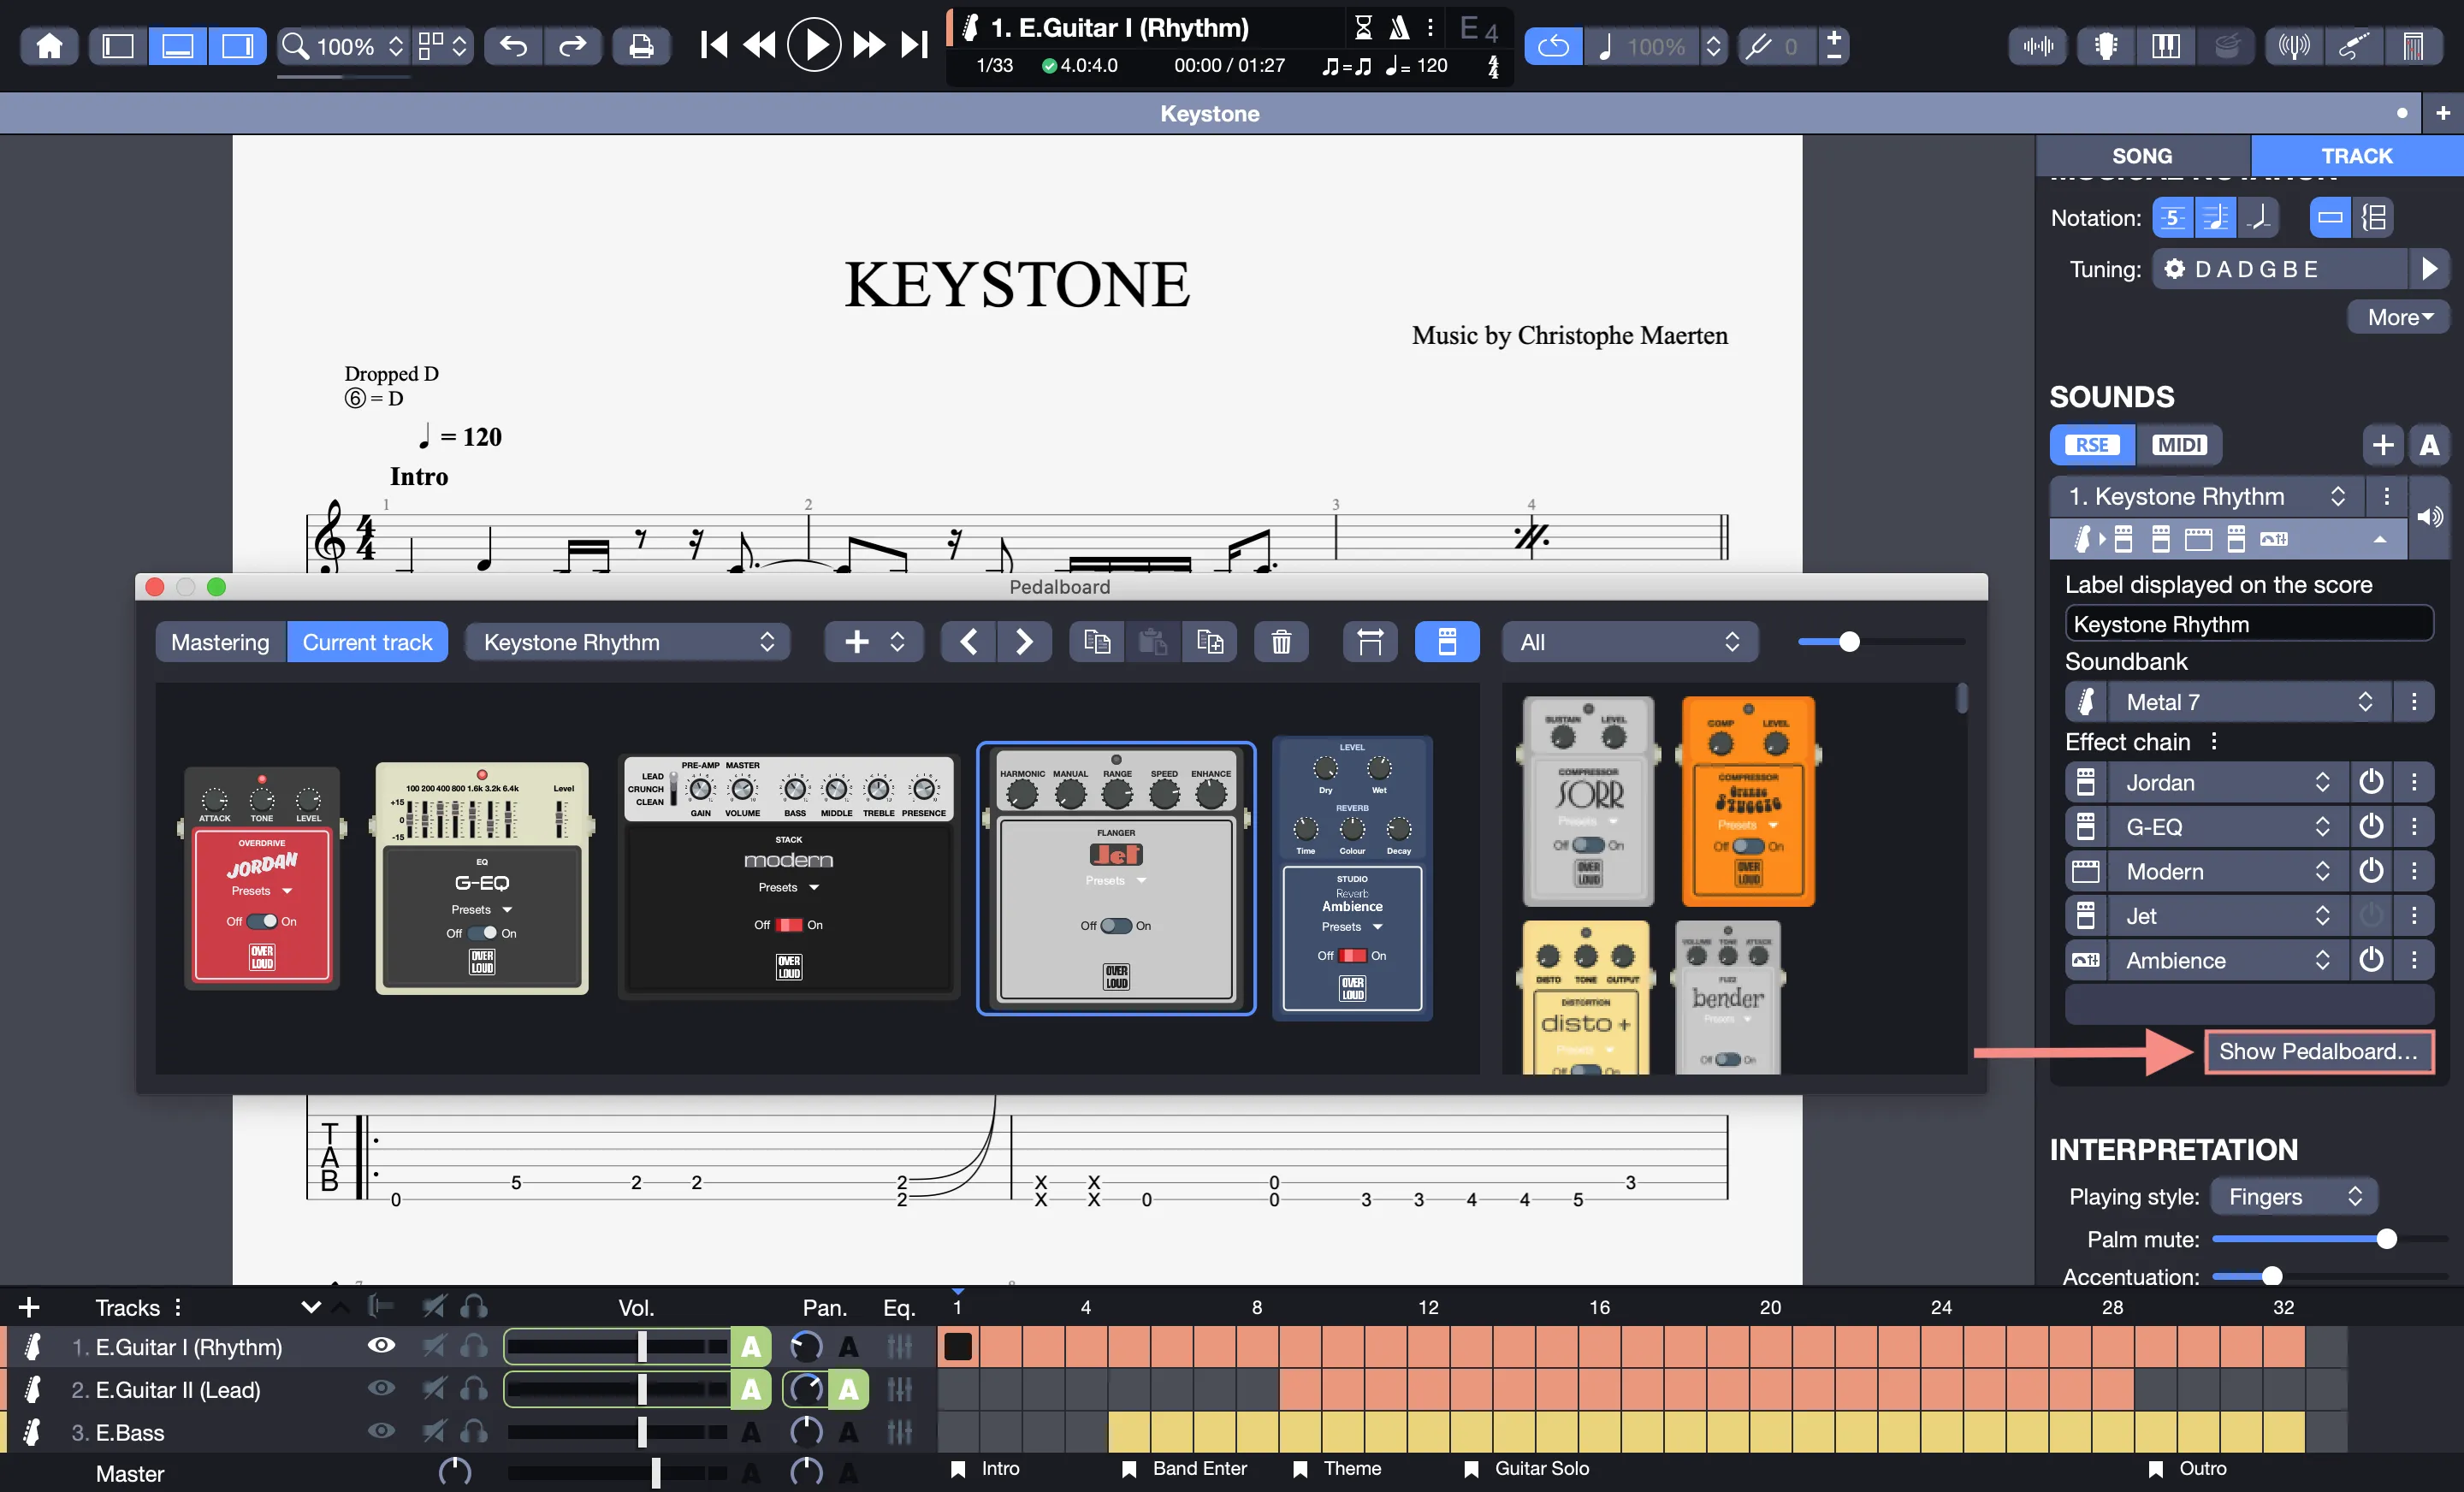
- Combine sound bank (raw instrument) with effect chain (pedals, amps…)
- Add multiple sounds per track to use sound automations
- Tweak effects via the pedalboard (up to 6 per track)
- Use one of many ready-to-use signature sounds to enrich your track
The pedalboard is available for RSE tracks only.
Import, Export, Print
Import, export or print your scores from the File menu.
- Import: open MusicXML, MIDI, ASCII, GP and other file formats
- Export: save your score as PDF, MP3, WAV, MIDI, XML, ASCII, etc.
- Print: customize layout and formatting before printing from File > Stylesheet > Page & Format.
Open a mySongBook Score
- From the Home Screen, access mySongBook
- Log in to open your purchased or subscription-included titles
- Also view the Free Tab of the Day and access more than 70 free titles
An Internet connection is required to access mySongBook.